How to make a Wood Plank Door Mat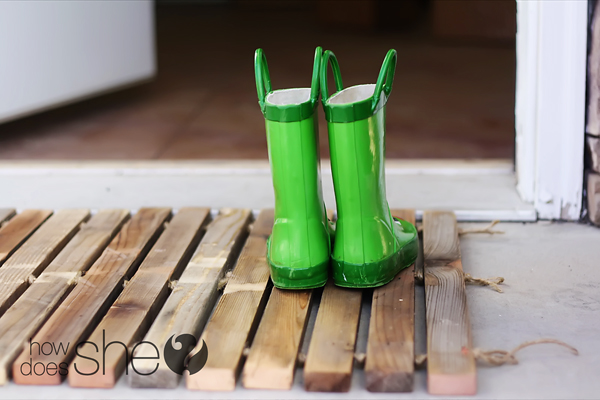
I think this post is a ‘deja vu’ of the chore chart for multiple kids post.
Hello L…O…N…G……post.
BUT I promise to give you an intermission.
It will be worth the ticket price!
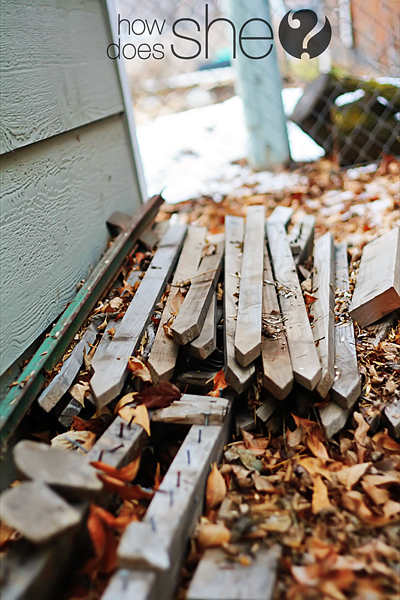
I think only a handful of people would get excited about seeing a pile of old wood behind their shed. Ummm… one of them would be me.
I will only pick up the wood in the winter when all the spiders are dead or long gone. I haTe spiderS! {{Serious Drama}}
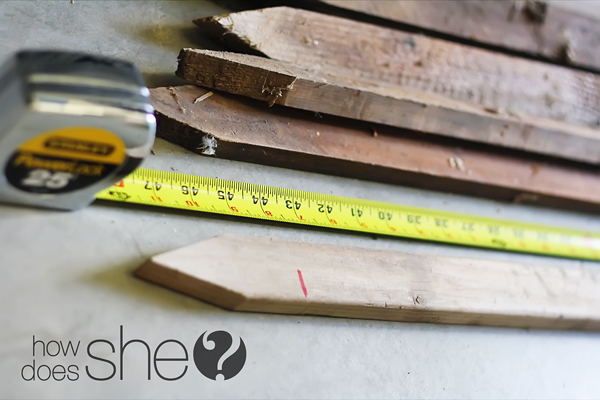
These spike’y’ wood plank ‘treasures’ measured over 44 inches. A total of 7 planks were used.
How to use a miter saw
If you need a post on how to use a miter saw…you’ve come to the right show. Here is the link to take you there!
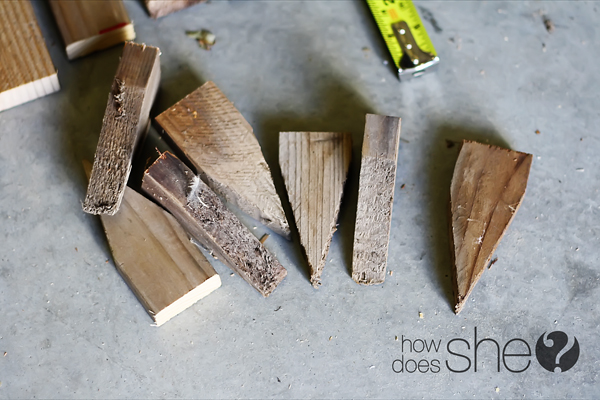
Chop the tips off and chop the planks in half… leaving 14 planks.
They were all about 22 inches long.
They are looking a bit better after the chopping. They still have a bit of ‘stuff’ on them though.
The ends shown here…I see trash although if I sent them over to Beckie at Infarrantly Creative…she’d make something completely awesome with them!
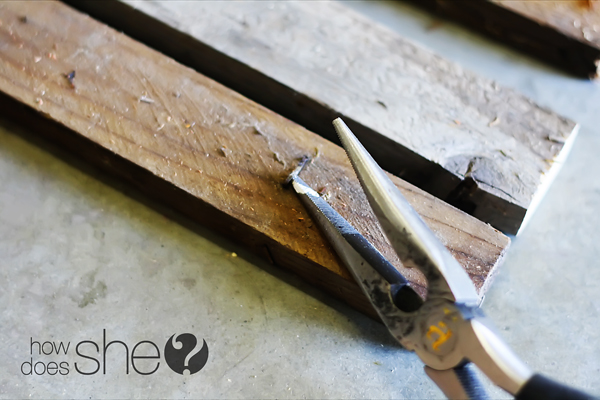
Oh, remove all nails and staples{{this would be a reminder to me}}. They don’t do well on the sander {{hello…sparks}}!
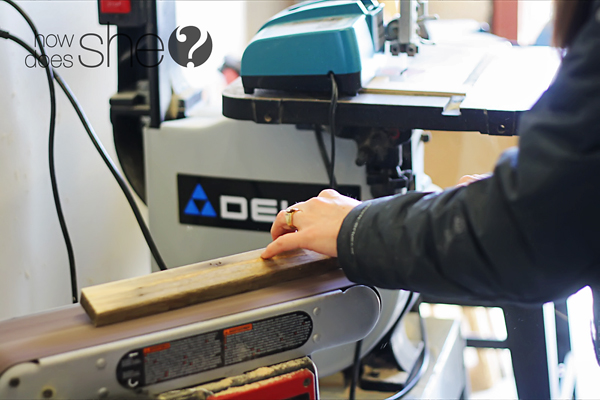 Enter in: Beautiful power sander.
I love you! {{Imagine angelic music in the background}}
You make my life so much easier and help me get my projects done a LOT quicker! 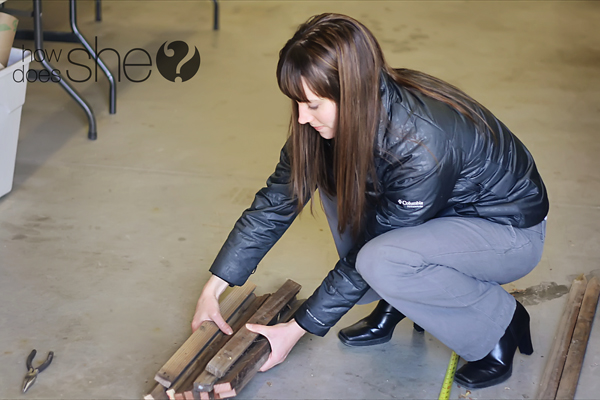 I know I am in heels picking up wood, cutting and sanding wood.
You’ll also notice that my pants are way too short for these heels. Just ignore that part. {{Major floods}}
It’s to point out that this project is really super easy and you won’t get all yuck.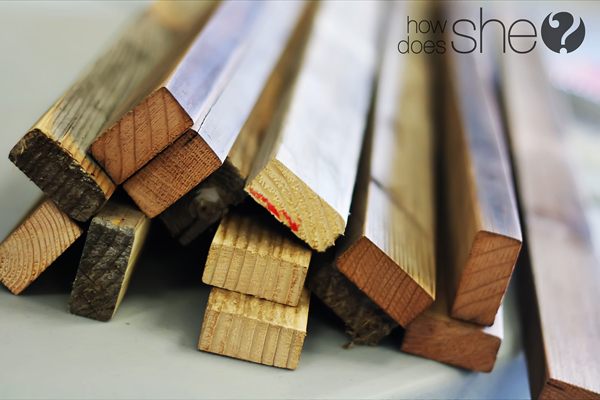 If you happen to find old planks you will need to sand off the goobers, spider webs (yuck), and the slivers.
You can pick up new planks at the hardware store if you can’t find the gold mine like mine {{ha!}}
If you want to stain these, now would be the time.
We are getting closer to our plank door mat! Take your planks and stand them on the sides. Side by side. Take a quarter inch drill bit and run 3 holes per plank. I did one hole in the center and the other two holes about 3 inches from the ends.
I forgot to take a picture of all the holes drilled so you’d know what it looked like. So I drew one for you. I know the picture is wonderful. The evenly spaced lines, the same sized holes, and the elegance of a photoshop picture.
…I really need to take a photoshop class. Do you see the random hole?
Or how about the 2 holes in the same place. I couldn’t get the erase tool to work. Anyway, I hope it helps you picture what I am talking about:)
Intermission time:
Halloween you ask?
Nope, we are headed to Costco in March!
They told me I could only call them Buzz and Woody. I was not mom either…I was Jessie.
Hummm…I guess you pick your battles as parents.
I was okay with Jessie {{at least it was not Zurg!}}
Back to the show…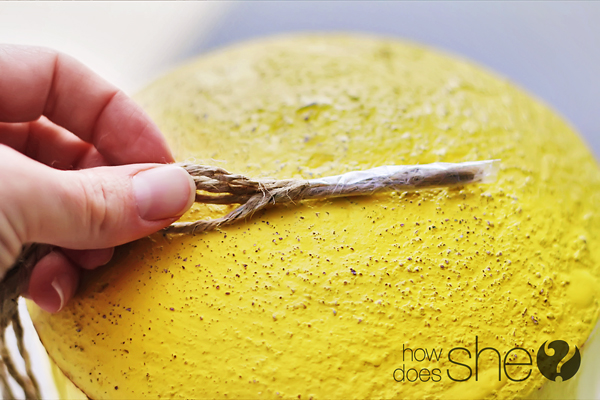 I used twine to bind these planks together.
Cut three to four long strips of twine and tape the ends. It makes them easier to thread through.
 Tie a knot with the other end.
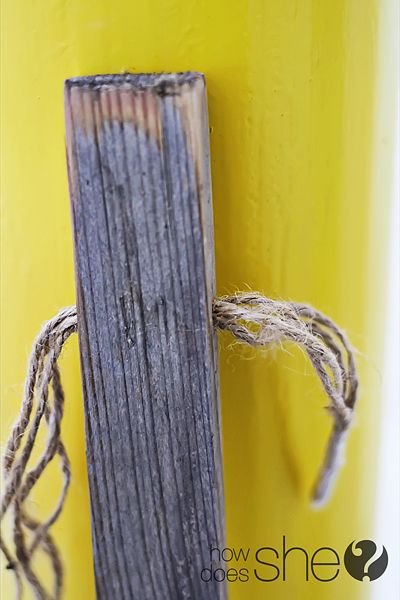 Push the first twine bunch through the top hole. Then do the second and third hole.
If you thread one plank {{with all three threads}} it will make it easier. We are almost at wood plant door mat heaven!
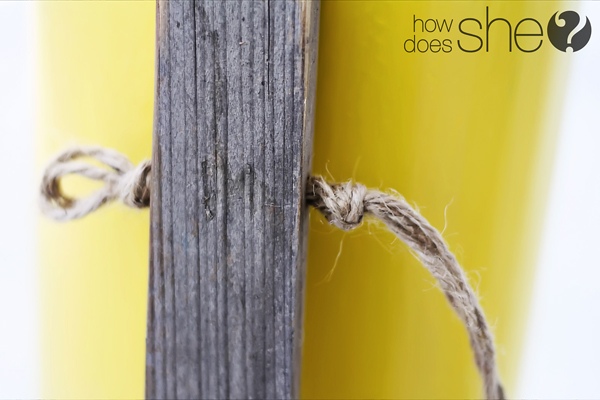 Pull it all the way through and then tie a knot.
This allows for a little space for all the water drips to go through.
Keep going with all 14 planks.
When you are done tie off the ends with at double knot.
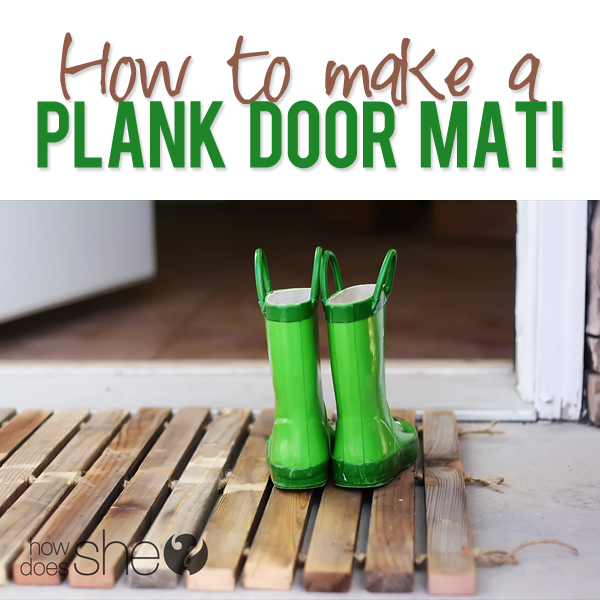
 Done! A wood plank door mat that will help dry off the boots!
Is it the boots that make this picture so darn cute?
Now my ‘Buzz’ will have dry boots after he stomps in all the puddles he can find.
We’re linking up to THESE parties!







Jill says
That is so fun. I love how easy it is and really like the ‘intermission.’ I’m off to look for wood! Thank you
Missy says
Oh. My. Holy. Cute. Kids. You are KILLING me!!! I miss Buzz and Woody. Lovin the boot dripper, fun idea and your pictures… you are pro!!
Jen says
How did you make it through Costco with those boys? Did you get stopped a million times? They are adorable! I can’t believe how big Lucas is! Miss ya! Great idea, by the way, but I’m not gonna lie…I’m never gonna make it 😉
Ali says
Hahaha! Jen you kill me! I love your honesty. I think it might add to the beachyness of my house, what do you think? Great idea Alison. I too LOVE Wody and Buzz! Miss you all!
Alison says
Jen…you and Ali plan a trip down and we will work on a big one for Ali. Oh wait…Jen how about you just bring the cookies and Ali and I will make one:)
Shelley says
Really, Alison. HOW do you come up with this stuff!? This is super adorable, and I LOVE all the pictures. The green boots make me smile. 🙂
Angie Smith says
The boot dripper is fantastic, but Buzz and Woddy totally stole the show! 🙂 Oh I love things like that…being a mommy (or Jessie at times ;)) is the best!
Annie says
I love it… That is so cute 🙂
Alysha says
Those rain boots are A-dorable. You are so darn creative, I would’ve never got past the spidery wood planks. 🙂
Brenda says
Love this project!
Also, in PS you could have just made one and copy and pasted them next to each other! It would have been much easier. And also if you are using the circle tool, hold down shift to make a perfect circle rather than an oval. 🙂
Bobbi says
This is SMRT smart! 😉 I want to dig around behind MY shed to see what I can find. On second thought…um…no. I’ll go to the lumber yard and see what I can find THERE. This is such a simple project that is so CUTE and USEFUL! Thanks for sharing!
And I’m happy to see that parents of boys deal with the same things. My four girls have left the house dressed as princesses more times than I care to count 🙂
Stacey Alexander says
LOVE LOVE LOVE this!!! Now I just need some wood, and some tools!
Stacey Alexander says
LOVE LOVE LOVE this!!! Now I just need some wood, and some tools!
Brittany (aka Pretty Handy Girl) says
Love it! Ingenious. Thanks for sharing.
Brittany
prettyhandygirl
Joy says
The best part about this project is that you are completing it in high heel boots! Super cute!
Randi says
I really, really LOVE that. Do the kids ever trip on it when they’re walking in? Or do I just have really klutzy kids?
Alison says
SO far so good…no tripping yet for the kids, but my husband on the other hand does not have a clean record!
Kirsten says
We have those same boots!!! I love this project… dying to find some old wood pieces lying around!
Maren says
I love this!
Tommi says
LOVED it!! fun to read too!! Thanx!!
Becca dulgarian @ Blue Cricket Design says
Alison! I love, adore and swoon over this project! I’ll be featuring it this week on Thursday on BCD! Thanks for linking!
Alison says
YAY! Thanks Becca!!!
Rachel says
What a great idea! I love that you can just hang it up and spray it clean. Thanks so much, I’ll be linking.
Lauren Adeline says
I just saw your project on Apartment Therapy. This is such a great idea! I love the end result…it was so well done. Thanks for sharing!
Tracey Marzich says
I really like this idea. How is the mat holding up to wear and tear? Would painted wood work well do you think?
Tiffany says
adorable!! We burned our old wood…Clearly I am not nearly as inventive as you are! 😉
Thanks for sharing.
amanda watkins says
We have wood scraps EVERYWHERE.. I can never part with them. We have MANY pairs of boots around & never enough mats to keep them. I love this, going to tackle it today. 🙂 Thanks for sharing!!!
Hannah says
OMG Allison, I didn’t know youe hated spiders.
I have arachnophobia too, don’t worry, i’m not making fun of you.
Michelle Paige says
LOVE this idea! Thanks for sharing all the steps. I totally want to make one!
M says
WOW!! That is impressive. I love it.
Stephanie Hillberry says
I love the classic appeal of wood, and always seem to overlook the power of good first impression (like at the front door, for instance, where I currently have the world’s dirtiest mat). What a great project.
Furthermore, I’m so impressed by your photography and the overall professionalism of your site. Well done! Wishing you lots of success!
Warmly,
Stephanie from Deviantly Domesticated
stumbleaddict says
I saw this a while ago, and loved the idea. I’m trying to figure out how to use the same concept as a canvas for my bedroom decor. I think I’ll use the same technique, minus the twine and add some strips of wood to the back to hold it all together. Thanks for the inspirations!
Jodi says
Thank you so much for such a great, creative and fabulous idea! I can’t wait to make one!
Lisa says
I love intermission! Lordy they are cute! Oh… the mat rocks too, I’m totally making one.
PiperPixieDesigns says
I actually have almost everything here to make this, I’m looking at it right now. We have a beach house in Pismo that this would be great for in the sand room;)
Loretta | A Finn In The Kitchen says
My mom and dad have a bunch of these in their sauna and changing room. They really do a good job of keeping sand off of feet since they live on the beach!
Thanks for the tutorial!
Rachel says
Yes yes yes yes yes. I love this.
Ashley says
It’s gorgeous, thanks for the great tutorial. I was just wondering, is it super slippery when it gets wet on a rainy day?
Kristi says
I am SO in love with the rustic look of this! Sharing it tomorrow morning in a round up of my favorite Summer projects. Please swing by to check it out at http://www.makingitinthemountains.com. Wishing you all SUCH a lovely long weekend!!!
Crystal says
this is just AWESOME! In all my quests for DIY projects, I’ve never seen this one and it is definitely one of my favorites…so easy, unique and inexpensive (although it doesn’t look it!). Thank you for sharing with us! I’m making this next weekend!!
Wendy Himongala says
Great project! I loved reading your little comments… Funny and cute!